Close-ups: Frame Texture With Care
Close-up frames are the technical handshake of a makeup portfolio. When an agency producer or bride enlarges an eye or lip crop, they look for seamless gradient transitions, clean inner-rim waterline work, and sharp lash attachment—all of which depend on optical discipline at the moment of capture.
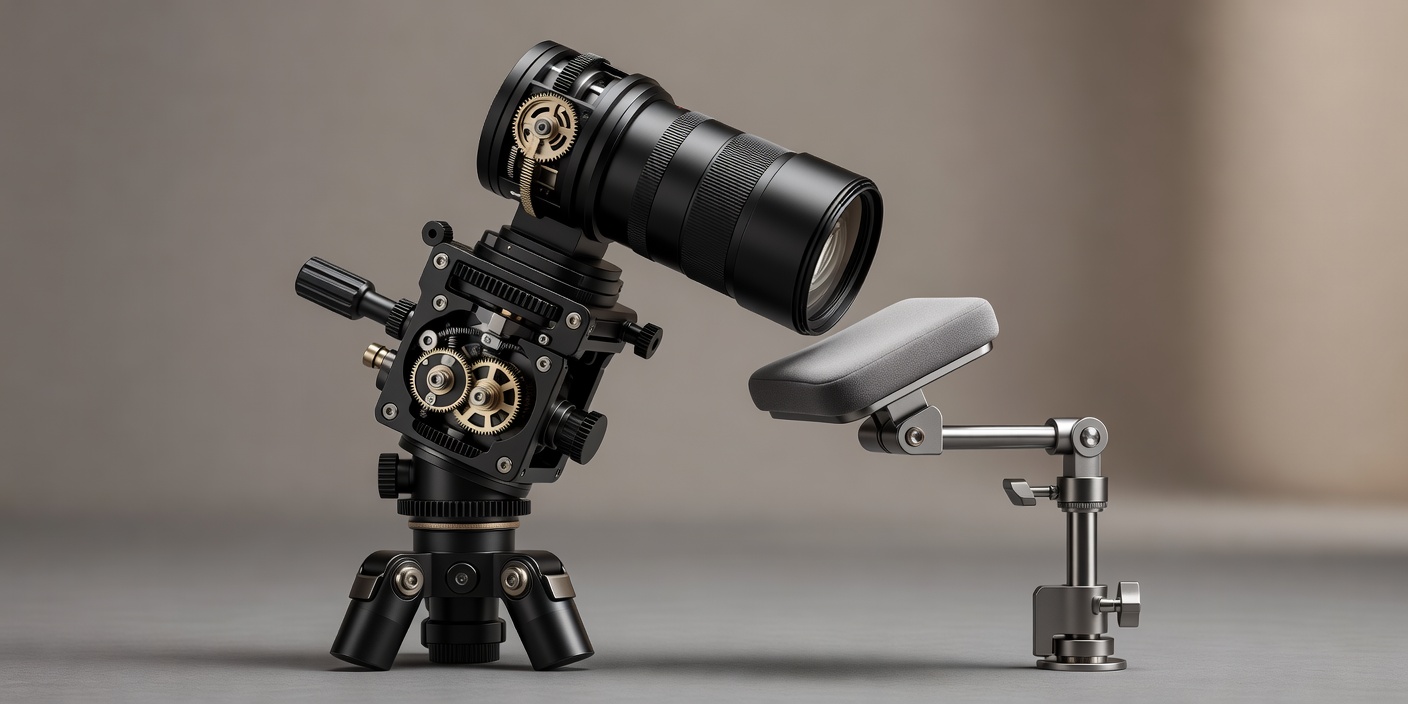
Optical Geometry: Why Focal Length & Working Distance Matter
The single most common mistake in self-shot beauty portfolios is holding a smartphone main camera (typically a 24mm or 26mm wide-angle lens) twenty centimetres from the model's cheek. At that distance, the lens exaggerates whatever sits closest to the glass: the nose swells by up to 30%, the outer corners of the eyes slope backward, and symmetrical winged liner appears crooked.
To keep facial architecture honest, maintain a minimum working distance of 90 cm for tight feature crops and 150 cm for full-face portraits. Use a true short-telephoto or macro prime lens (85mm, 90mm, or 105mm on full-frame; 56mm or 60mm macro on APS-C; or the dedicated 3x/5x optical telephoto camera on a flagship phone mounted on a rigid clamp).
| Crop Zone | Ideal Focal Length (35mm Eq.) | Camera Distance | Recommended Aperture | Primary Focus Point |
|---|---|---|---|---|
| Full Head & Collarbone | 85mm – 105mm | 1.6 m – 2.0 m | f/5.6 – f/8 | Near eye iris & upper lash root |
| Three-Quarter Cheek & Temple | 90mm – 105mm Macro | 1.2 m – 1.5 m | f/8 – f/9 | Outer lash corner & cheekbone peak |
| Single Eye & Brow Architecture | 100mm – 105mm Macro | 0.75 m – 1.0 m | f/9 – f/11 | Mid-lid crease directly above pupil |
| Tight Lip & Cupid's Bow | 100mm – 105mm Macro | 0.70 m – 0.95 m | f/11 – f/13 | Cupid's bow vermilion border edge |
Four Angles That Show Eye Shadow Without Crease Distortion
When a model stares straight into the lens with chin lifted, the mobile eyelid folds into the socket and hides half of your blending work. Guide the gaze through four repeatable micro-poses for every eye look:
-
The Downward 45-Degree Gaze (Never Squeezed Shut)
Ask the model to keep the head upright while looking down at a piece of coloured tape placed on the lower reflector board. Unlike closing the eyes—which bunches the skin along the lash line—a downward gaze stretches the mobile lid smoothly while displaying the full arc of the upper lashes.
-
The Over-the-Bridge Three-Quarter Turn
Turn the model's nose 30 degrees away from the camera while keeping the eyes looking just past the side of the lens hood. This angle aligns the brow tail, outer V blend, and upper cheekbone highlight along a single diagonal plane so all three stay sharp at f/9.
-
Level Camera Height for Symmetrical Liner
Ensure the centre of the lens barrel is exactly level with the tear ducts when shooting straight-on eye pairs. Shooting from even five centimetres above the brow line makes winged liner appear to droop downward; shooting from below exposes the nostrils and flattens the upper lid space.
-
Slightly Parted Lips for Vermilion Edge Clarity
When framing lip close-ups, ask the model to relax the jaw and breathe softly through the mouth so the lips part by two millimetres. Pressed lips flatten the natural cushion of the lower lip and create tension lines at the oral commissures.